
How to Create an Antique Blue and White Plate Wall
If you have a collection of plates hidden in a cabinet just waiting to be displayed on a statement wall, this post will show you how to create a whimsical design with the dinnerware that can also serve as decoration. This “grand millennial” interior style features blue and white chinoiserie plates that are a staple in my southern lifestyle.
I got the inspiration for this wall from my grandmother’s home (pictured below.) I have always loved how plates add color and can fill in space on a wall.

Let’s begin with how to gather your collection of antique plates. After getting married, I started thrifting at second-hand and antique stores. Hello interior design on a budget! I slowly began to collect chinoiserie style plates, vases and jars- finding one or two here and there. One day I found someone selling their whole blue willow style plate set on Facebook marketplace - total score for my grand millennial soul. Even though I was able to find a whole collection at once, my biggest piece of advice is to be patient with collecting.
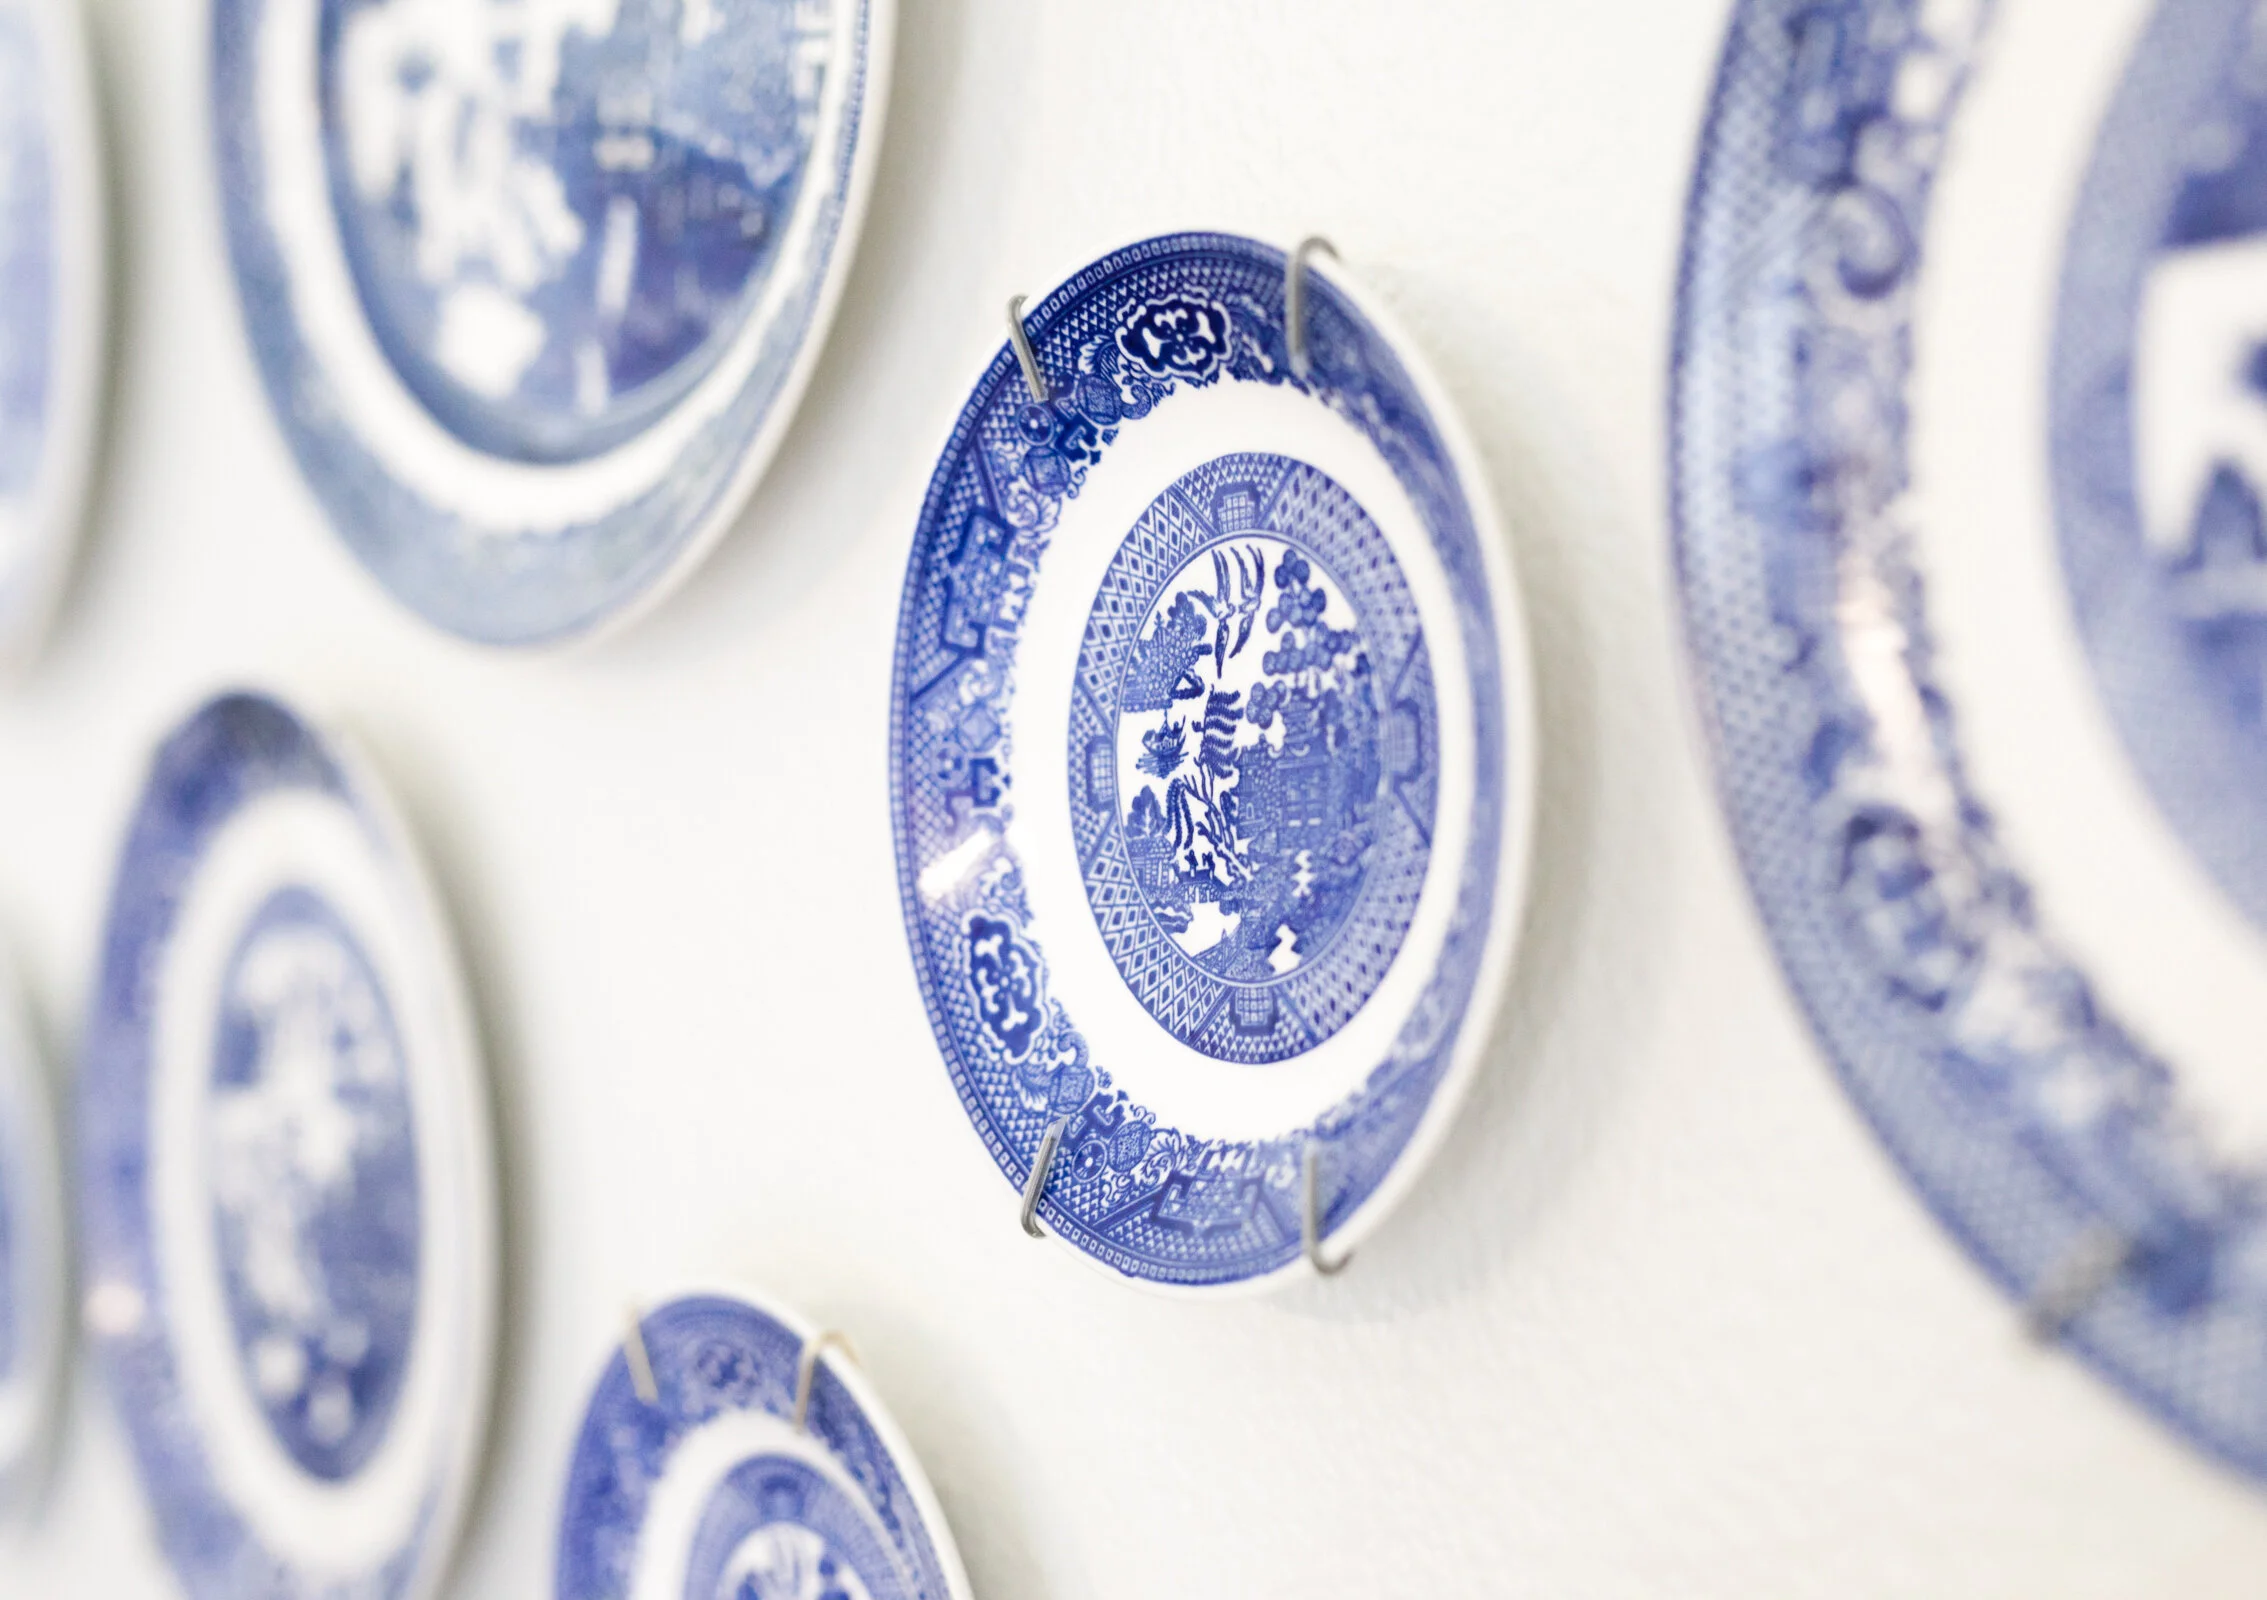
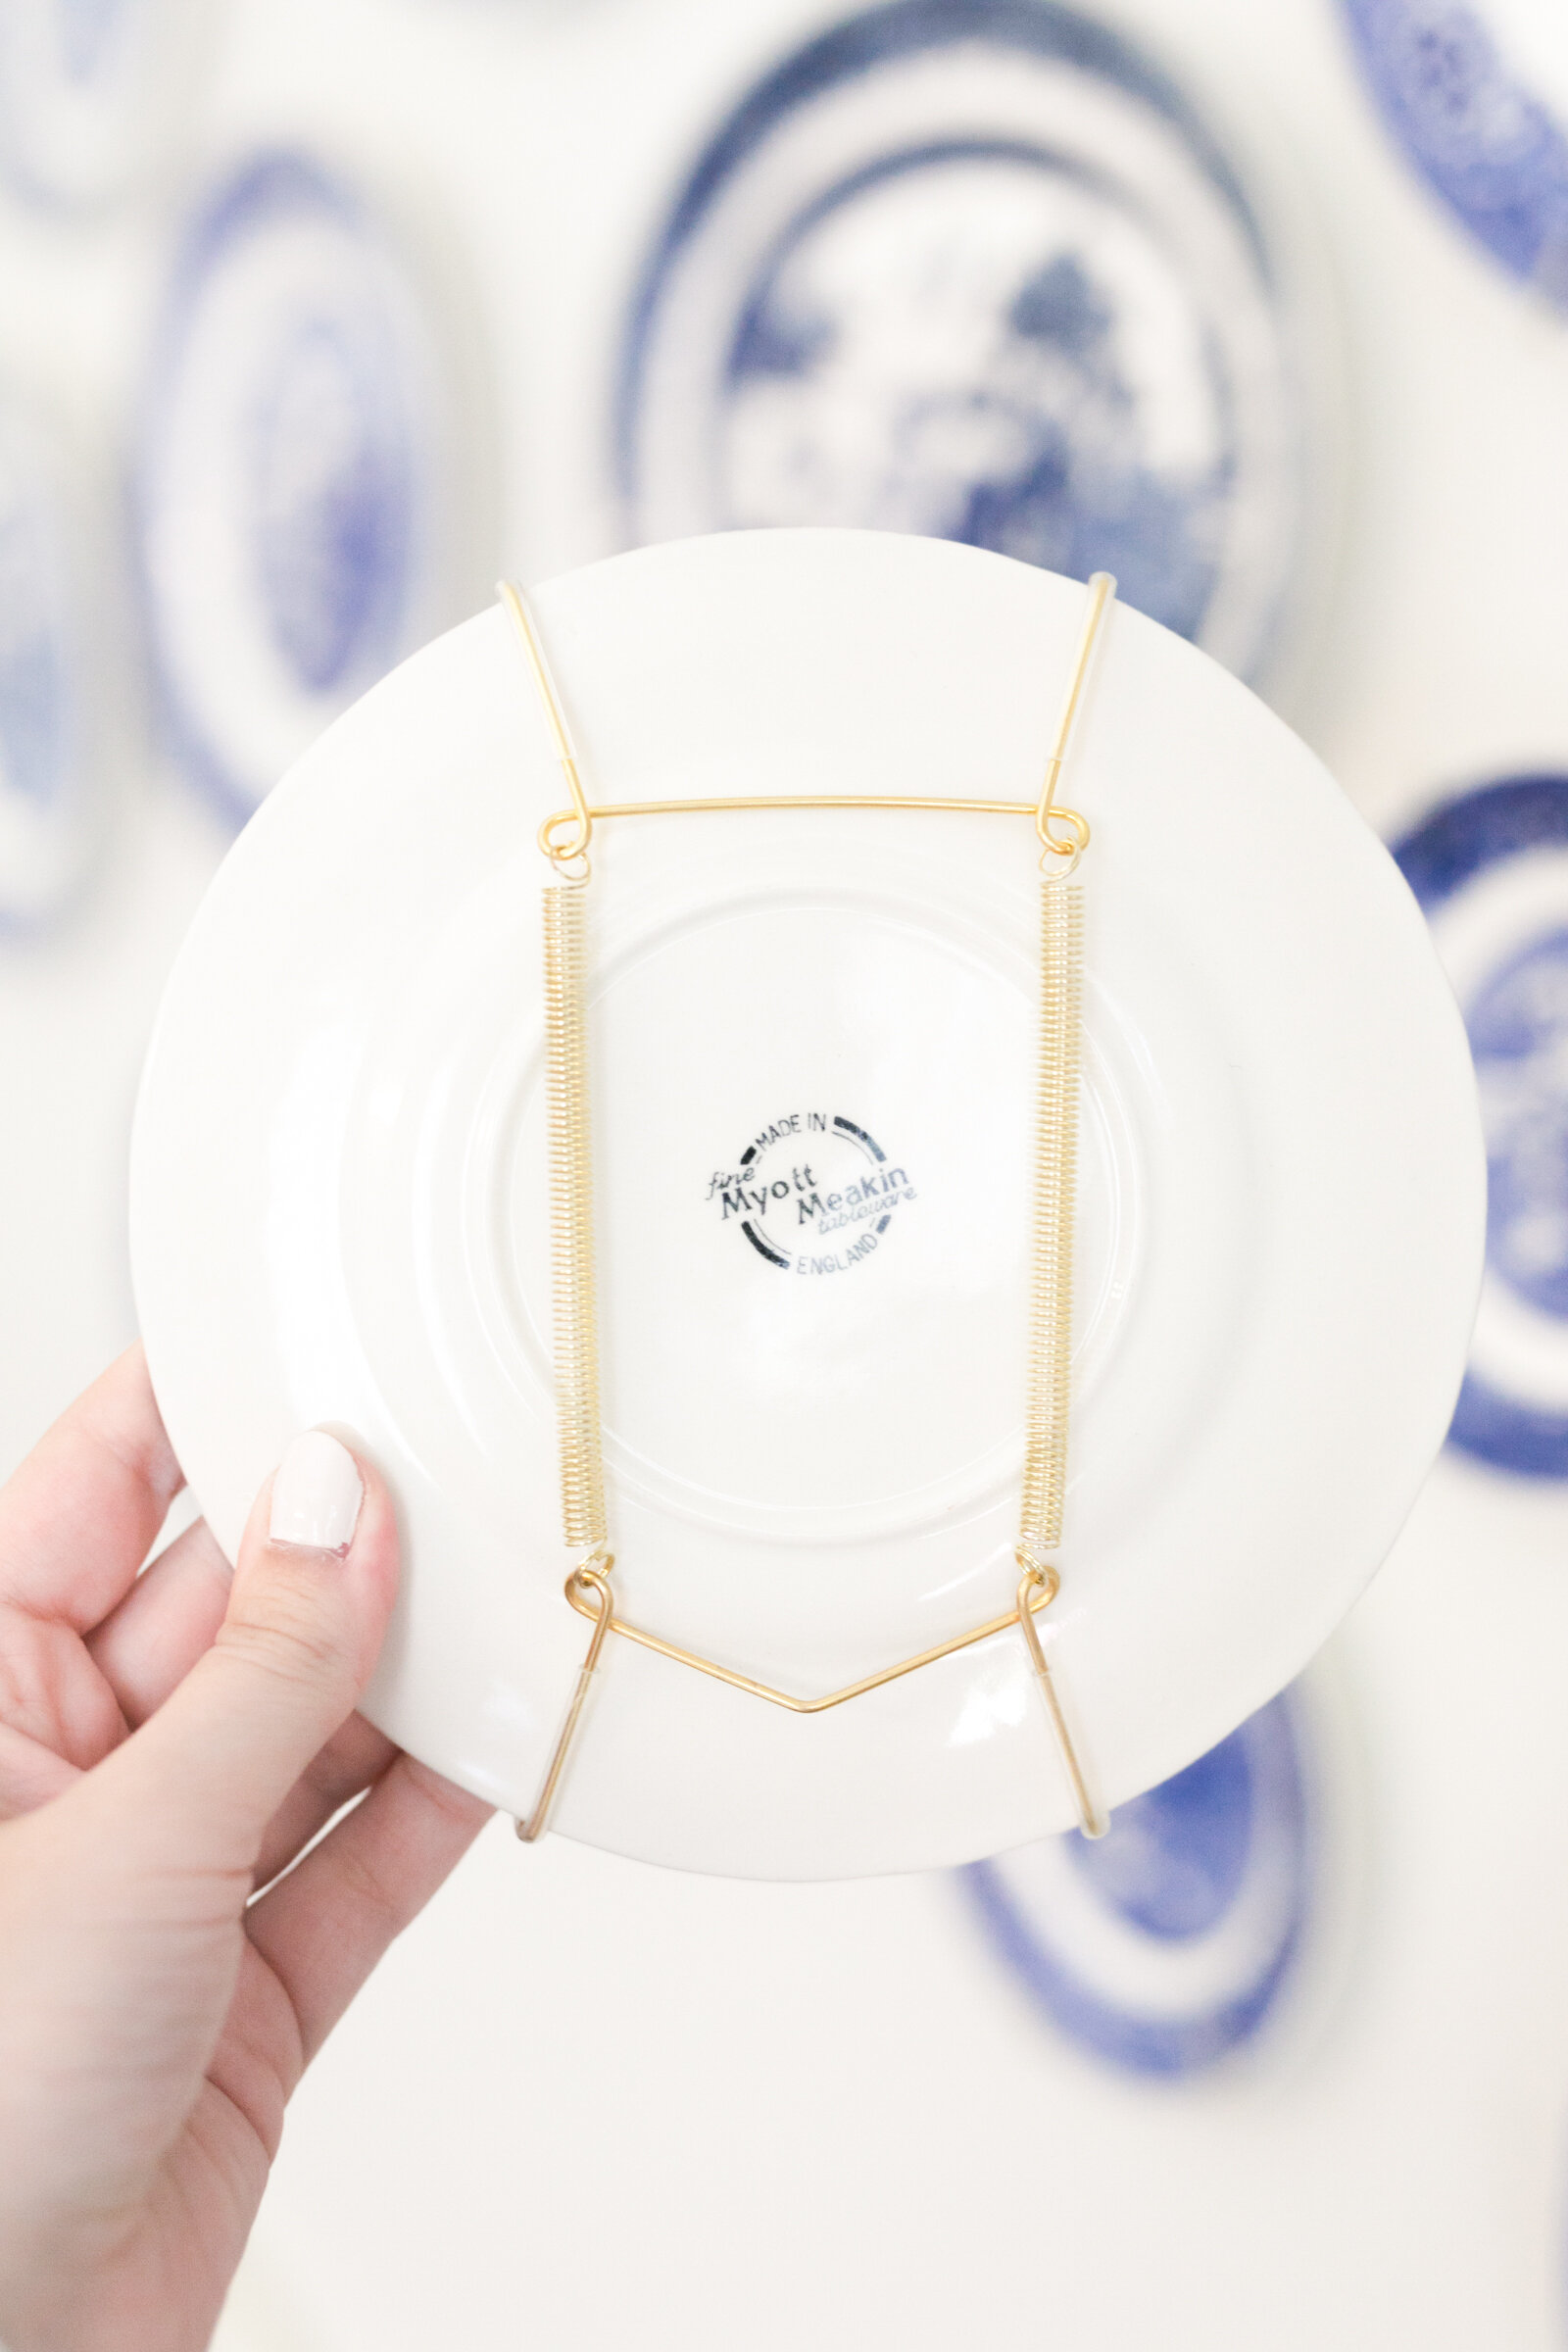
Now that the plates are collected, they are ready to be upcycled. Hangers place an important role in this statement wall so doing your research on the right ones for your wall in particular is important. I used both wire and adhesive plate hangers. I tried both options and they both worked well on my wall.
(Pictured right: adhesive hanger, pictured left: wire hanger)

Here are the tactical steps I took for my whimsical plate wall:
Clean all the plates with Dawn dish soap. Make sure they are completely dry before applying the hangers to the back. You don’t want any residue from stickers or tape on the plates.
Apply the hangers to the back of the plates. Follow the directions for your specific hanger type.
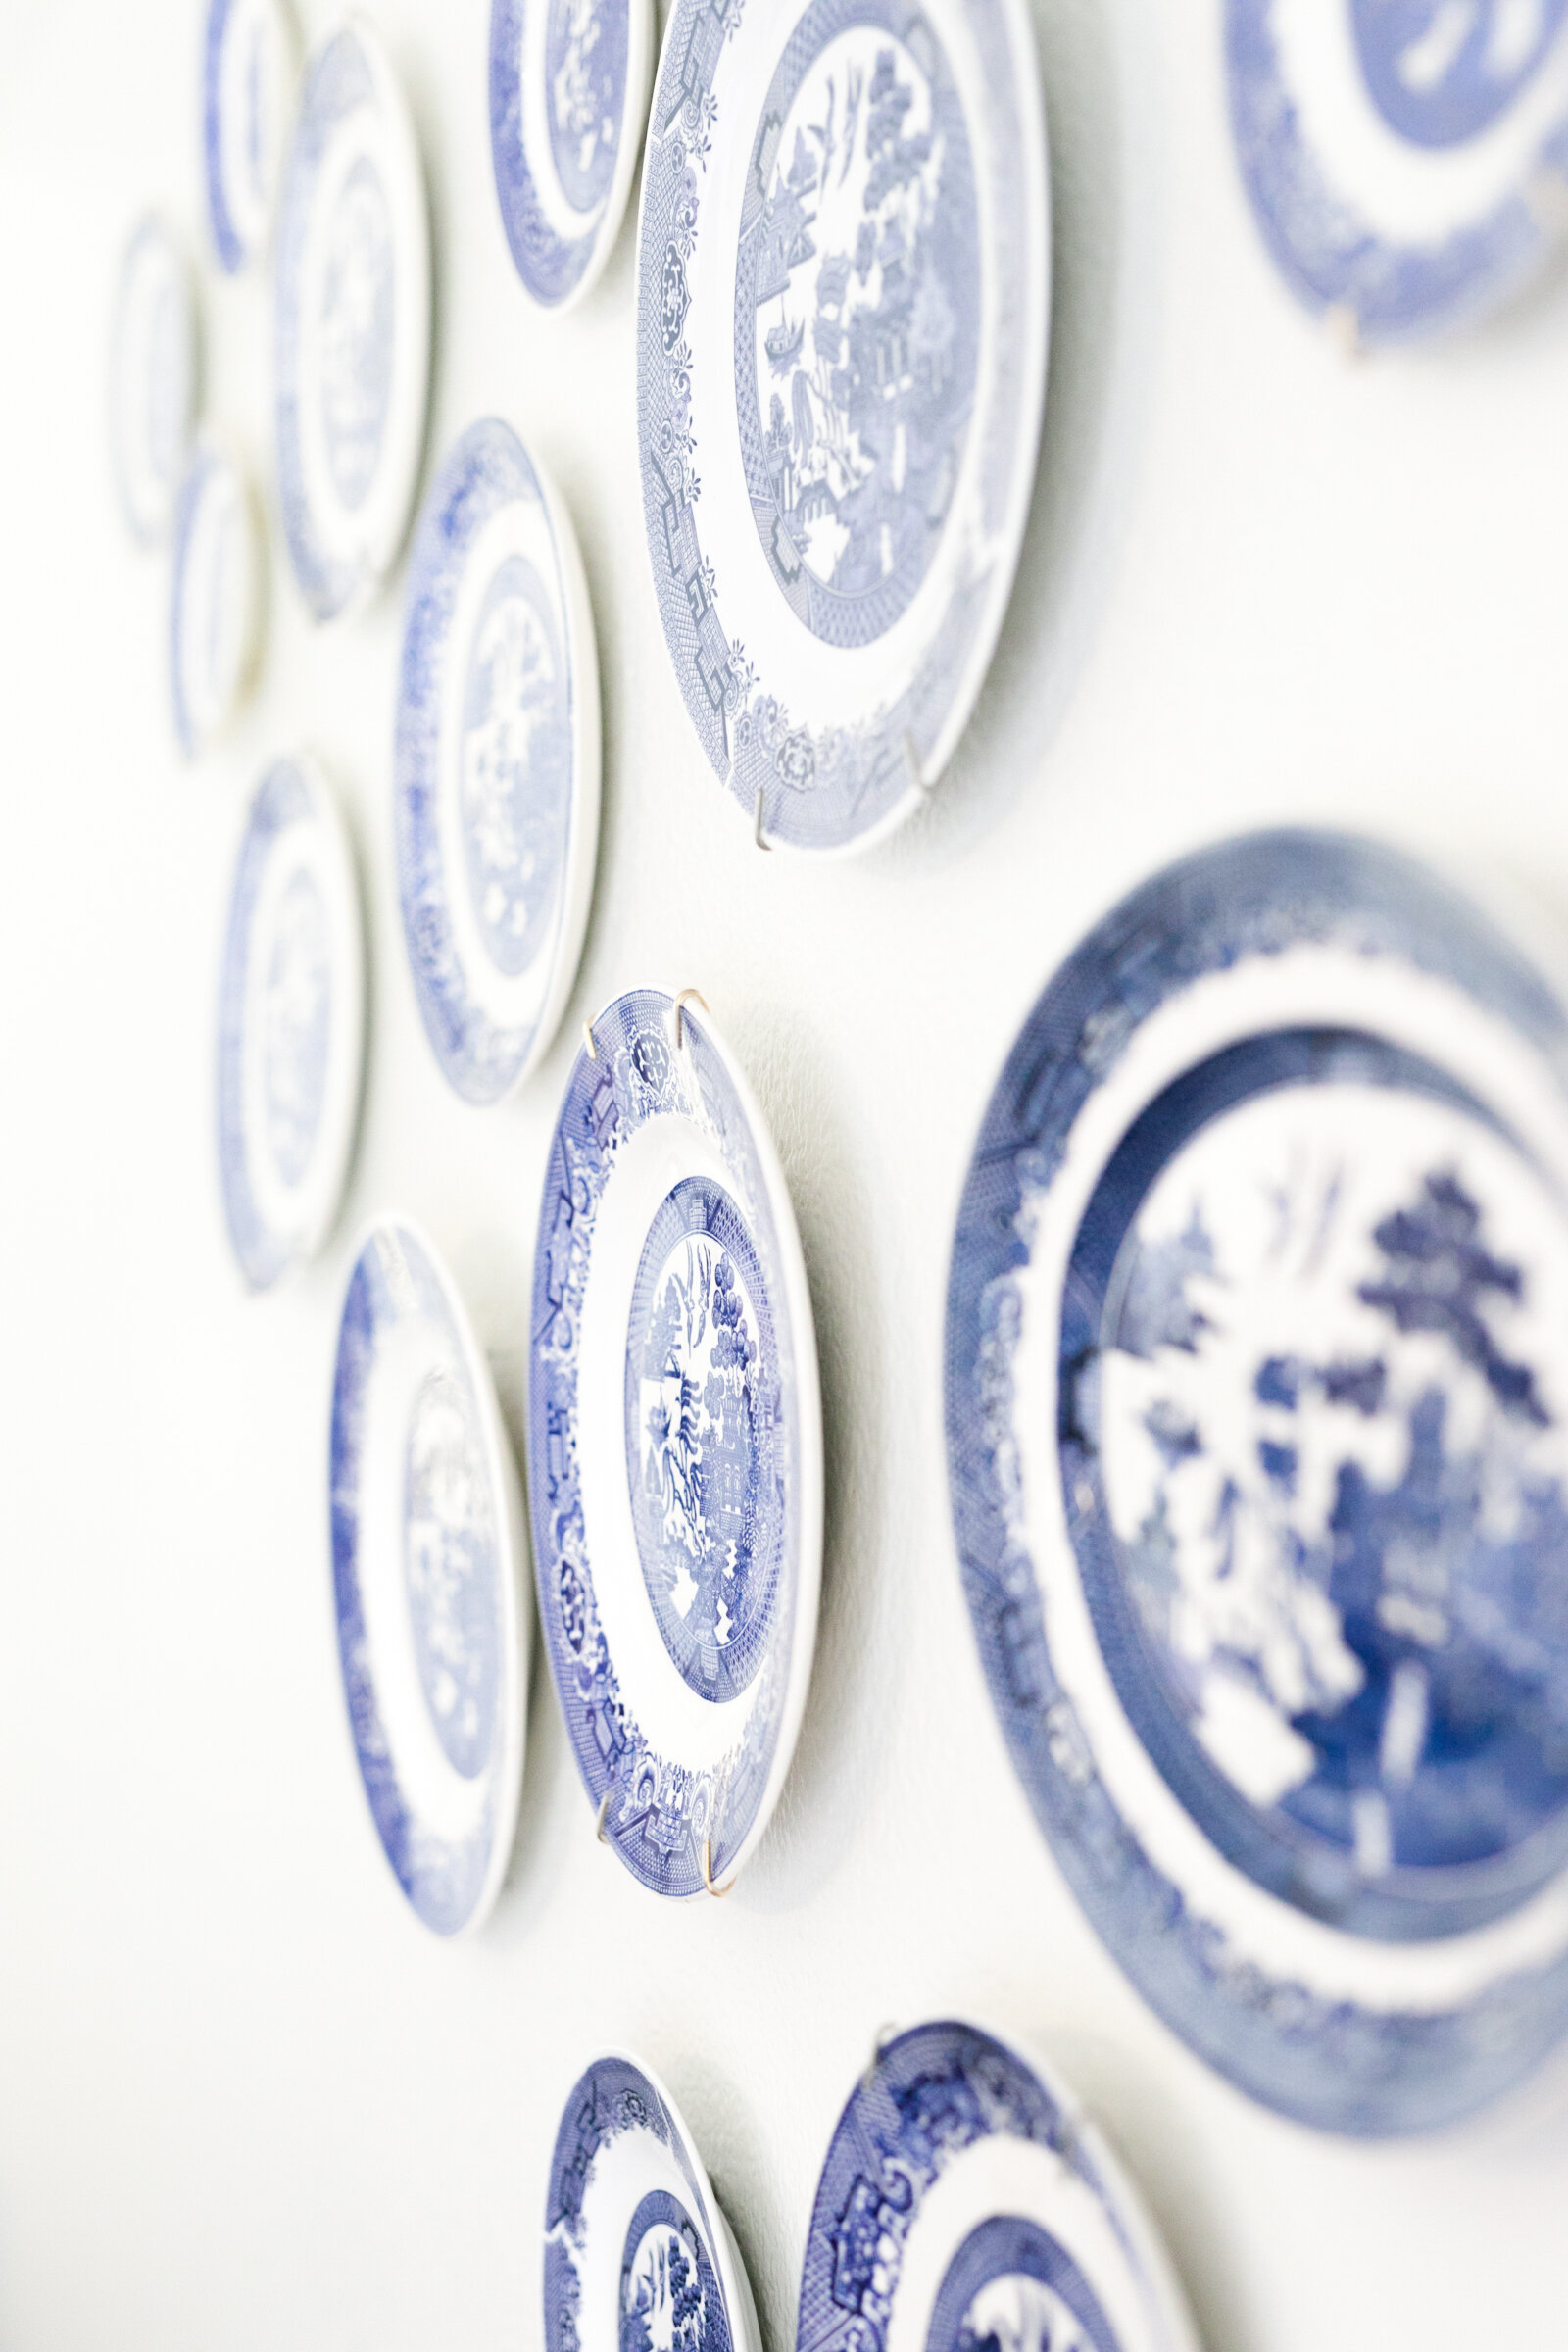
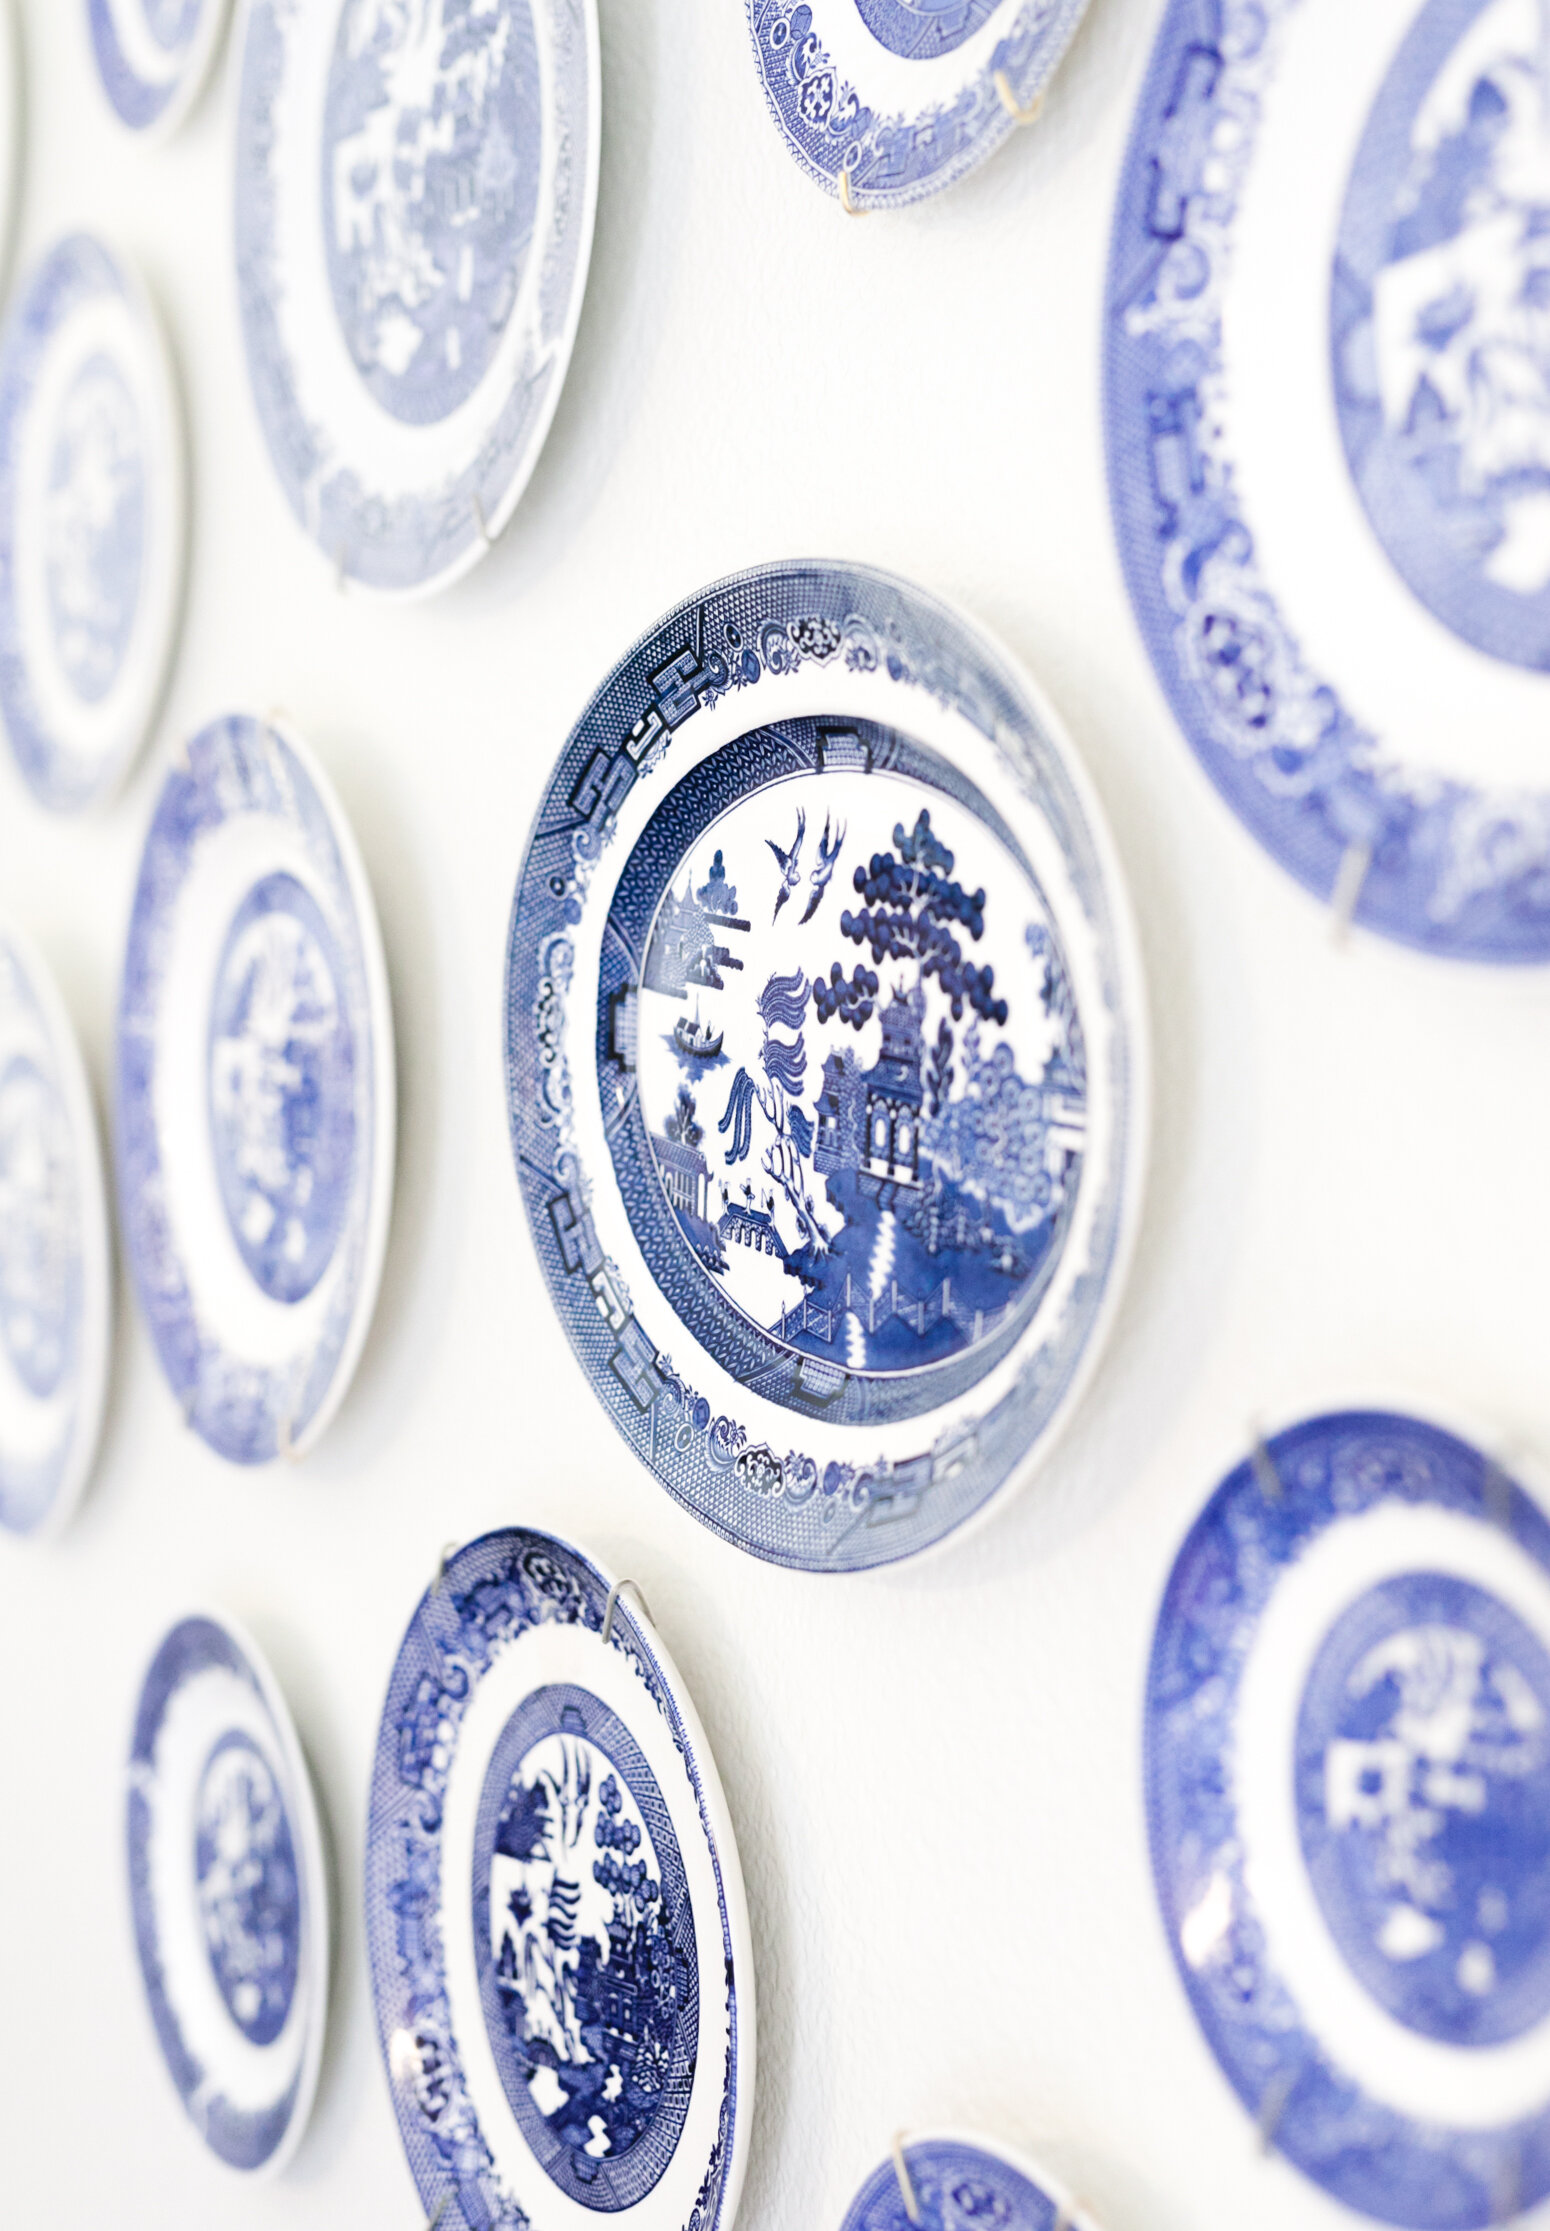
Start in the center of your wall and pound small 1 inch nails into your desired location. I left a quarter inch sticking out for plate placement. Work your way out from the center in placing the nails and plates. Use the same size nails for consistency.
Stand back 8 to 10 ft to see your final product. Don’t be afraid to move some plates around if it doesn’t feel right. Heck, I still moved a few plates around days after completing this project.

Now that I have gone through my process of how I completed my plate wall, I want to talk about what worked and what didn't work. First, I wish that I had chalked out a diagonal line for a clear map of the direction I wanted the plates to go in. But, I was still able to create a whimsical feel because I knew the general design of where I wanted the plates to be placed on the wall. The placement was intentional yet sporadic and I love that I could still add plates to the wall if I wanted to.
Plate Wall Tutorial video: Plate Wall TikTok
oxoxo,
Kendall